Car polishing techniques
Don't think that polishing and waxing are the same. This is a misconception that many people often make. Polishing a car is a much more complex process than just waxing. On the other hand, the result is much better and lasts much longer. For further info, click here: best car buffer
Homemade technique to polish your car
You will need the following products and tools:
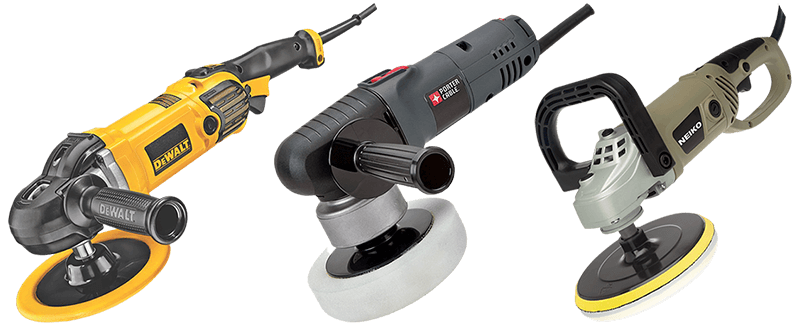
- - Polisher;
- - Waterpaper No. 2000;
- - Soft wool beret;
- - Foam beret;
- - Polishing paste (water based);
- - Flannel (of these oranges that you buy at the supermarket);
- - Black illustrative liquid;
- - Auto brightness;
- - Wax for polishing;
- - Cotton bag;
- - Masking tape.
1) If there is excessively burnt paint or light scratches that you want to remove or orange peels (thick paint), use the sandpaper. It is extremely important that the sandpaper is lightly applied and NEVER in circular movements, just straight movements, otherwise there is a great chance that the sandpaper risks will not come out, no matter how fine it is.
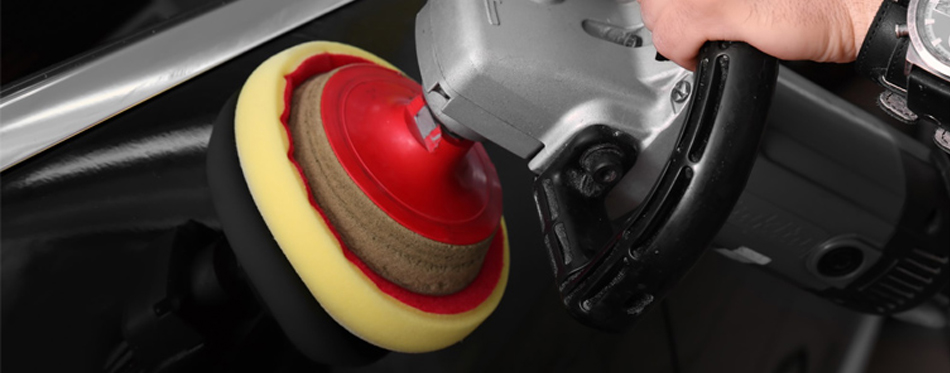
2) Use the polisher and polishing paste to give a more uniform treatment to the polishing. Remember, hand polishing is impossible to do due to the size of the surface.
3) Use masking tape on the sides and corners of the door. This prevents the paint from being pulled out.
4) Hands on. Take care not to force the machine downwards, the machine's strength is its own weight, with rare exceptions, forcing it too much can cause the varnish to burn. Make sure that the polisher is rotating from 3500 to 4500 RPM. More than that it increases the risk of burning the paint again.
5) After polishing, the car will certainly be shining, but make no mistake, it is shining because of the mass that is still in it, even if you don't see it. Wash the car with a little kerosene mixed in a large amount of water. This process has the purpose of removing all the rest of the dough, making possible possible marks of sandpaper that did not come out. If you see them, repeat the polishing process where the marks are. Throw plenty of water. Don't worry, the car will look greasy.
6) Wash the car again with mild soap. It is of utmost importance that it is well washed. This process has the purpose of removing all the fat and all the kerosene that was in the can of the car. Again, do not be alarmed, because once dry, the car will be a little opaque.
7) After completely dry, take the foam cap and the black polish liquid (Attention, black polish should only be used in dark colors, for light colors use white polish).
8) Once this is done, take the auto shine and pass it in small quantities with cotton, pass it until the product is practically gone from the bodywork and with the help of another clean cotton, remove it. The auto shine must be passed manually, as it is a finishing product.
9) Take the flannel and pass the whole car, polishing it again to give it shine.
10) Take the polishing paste and pass it in small parts (eg, top of both doors and trunk lid). For a lasting effect, the paste needs to remain in the painting for a certain time, usually about five minutes, so try to alternate its application on the parts, so that when you finish a part, you can remove them from the parts already applied.
When you finish using this paste, the car will look like it has received a layer of candle wax.